Noticed a stain on your ceiling, a suspicious drip, or a section of drywall that looks like it’s ready to give way? Don’t wait. Ceiling damage from leaking roof is rarely just a cosmetic issue — it’s often the first visible warning sign of hidden structural damage, deteriorating insulation, electrical hazards, and rapidly spreading mold.
The problem with roof-related ceiling damage is that it rarely announces itself loudly. Instead, it creeps in: a faint yellow ring here, a soft spot in the drywall there, a musty smell you can’t quite trace. By the time you notice it, water may have already been moving through your ceiling and walls for days or even weeks.
This guide will walk you through:
- How to quickly identify ceiling damage caused by a roof leak
- The most important steps to take right now
- When to call a roofer, restoration company, or plumber
- How insurance may apply to your situation
Acting within the first 24 – 48 hours can be the difference between a repair bill in the hundreds and one in the thousands. The faster you move, the better your outcome.
Signs of ceiling damage from a roof leak
Before you can take action, you need to recognize what you’re dealing with. Not all ceiling damage is caused by a roof and ceiling connection issue but these warning signs point strongly toward a roof leak ceiling problem.
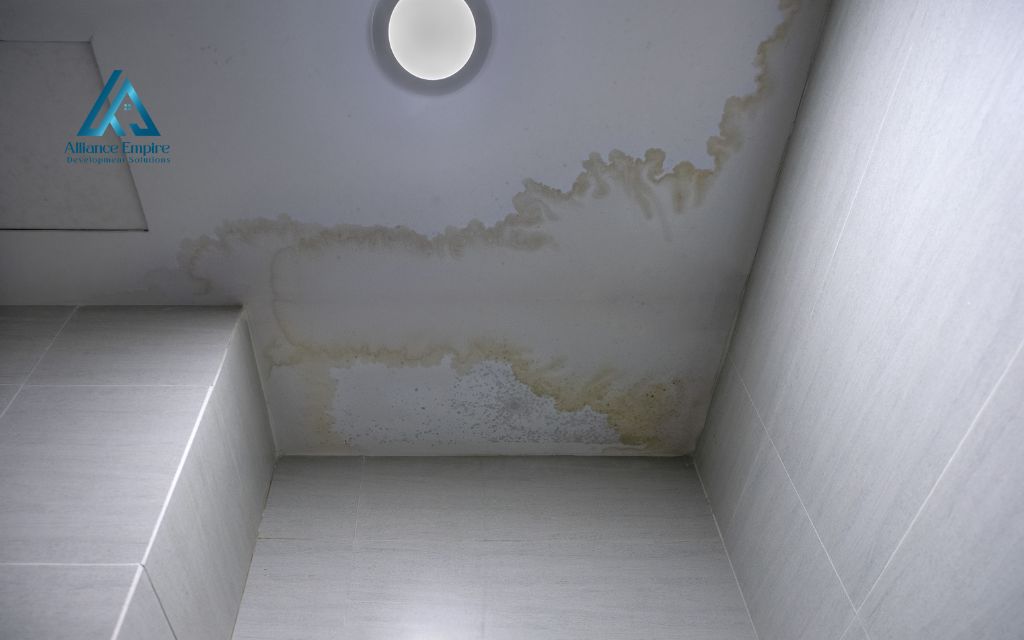
Common warning signs:
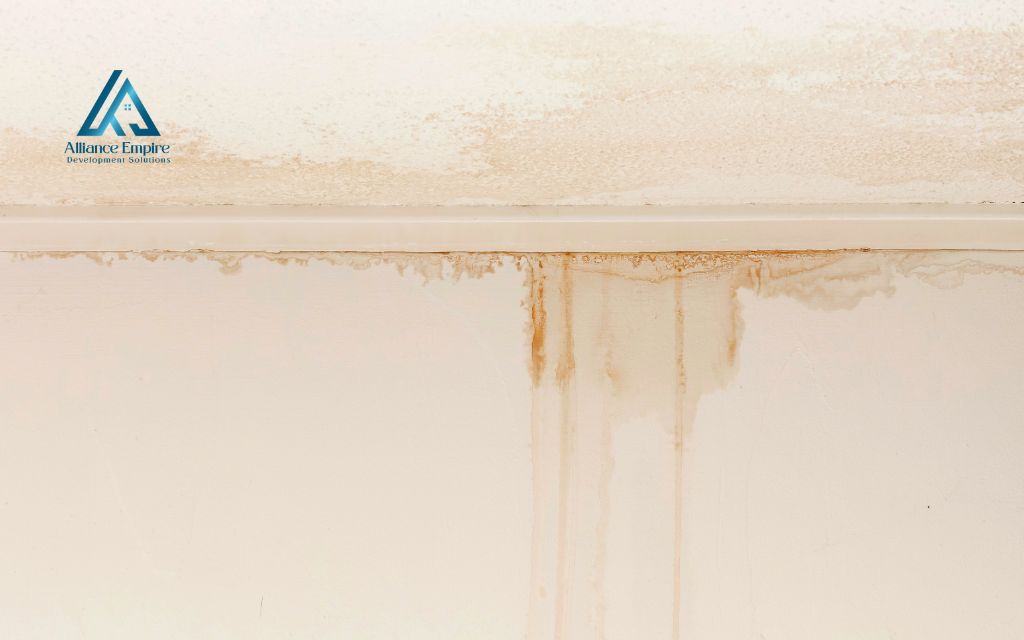
- Water stains: Yellow, brown, or dark spots that may be dry or still actively wet
- Bubbling or peeling paint: Paint lifting off the ceiling surface due to moisture beneath
- Sagging or drooping ceiling: Drywall or plaster absorbing water and losing structural integrity
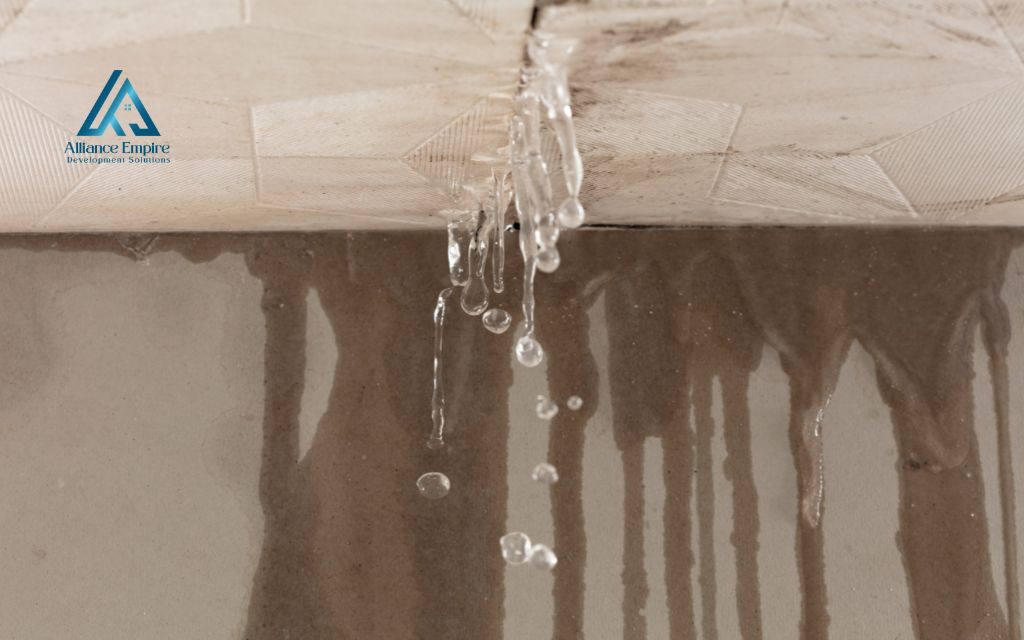
- Active dripping water: An obvious and urgent sign that requires immediate action
- Mold or mildew smell: A musty odor in rooms below the roof line, especially after rain
- Cracks in drywall or plaster: Often where water has dried and left behind damage
A bulging ceiling is a potential collapse risk. If your ceiling is visibly bowing or swollen with water, act immediately – clear the area below, place a bucket, and call a professional right away. Do not stand beneath it.
What causes roof leaks that damage ceilings?
Understanding the root cause of a ceiling roof leak is essential before any repair begins. Water damage on a roof can stem from multiple sources, many of which are not immediately visible from the ground.
Understanding the root cause of a ceiling roof leak is essential before any repair begins. Water damage on a roof can stem from multiple sources, many of which are not immediately visible from the ground.
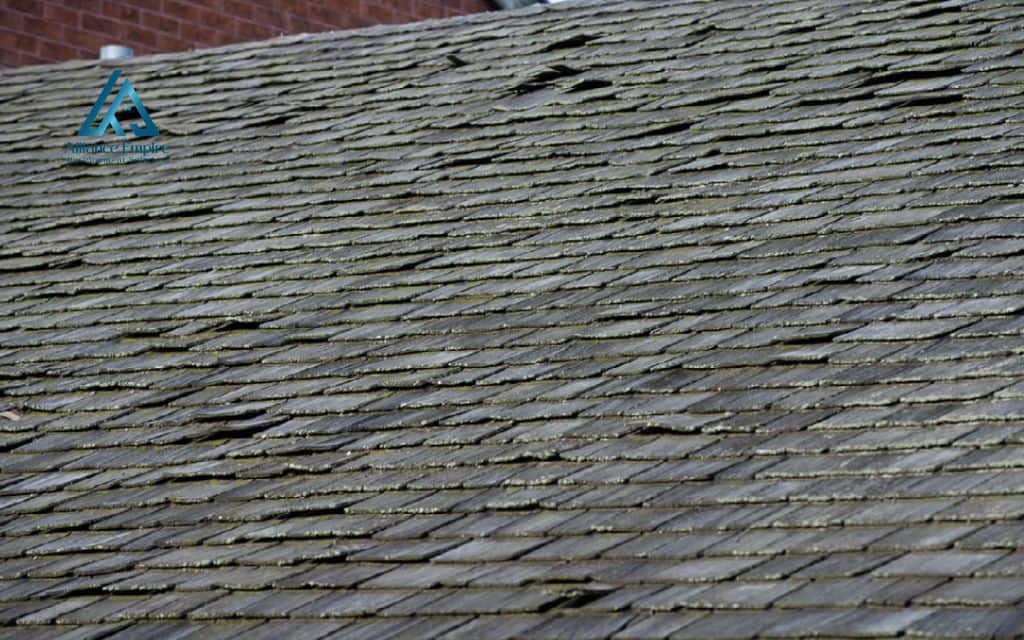
Damaged or missing shingles
Shingles are your roof’s first line of defense against rain and moisture. When they become cracked, curled, or go missing entirely due to age, storm impact, or wind, the roof deck beneath is left exposed.
Even a small gap in shingle coverage is enough to allow water to seep through and work its way down into the ceiling below, often without any visible sign on the exterior until significant interior damage has already occurred.
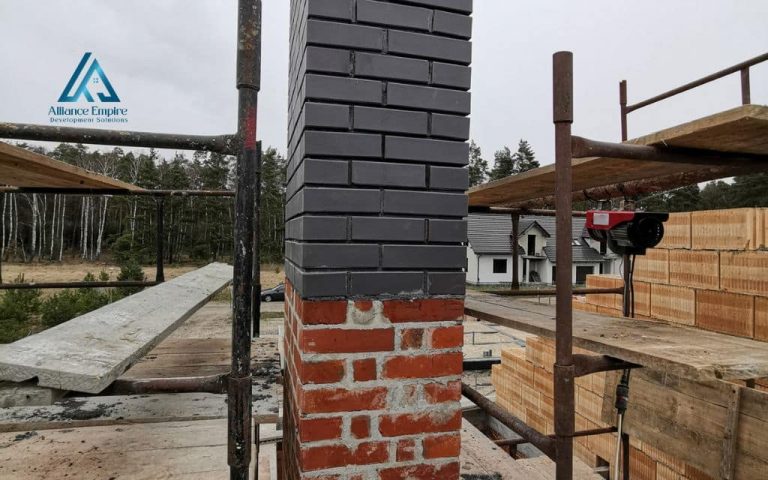
Cracked or failed flashing around vents and chimneys
Flashing is the metal material installed at joints and transitions on a roof – around chimneys, skylights, vents, and roof valleys – to create a watertight seal. Over time, flashing can crack, pull away, or corrode, particularly in climates with frequent freeze-thaw cycles. When flashing fails, water enters quickly and directly, often causing ceiling stains and water damage in areas directly below these roof penetrations.
Clogged gutters or roof drains
Gutters are designed to channel rainwater safely away from your roof and foundation. When they become clogged with leaves, debris, or sediment, water backs up and pools along the roof’s edge.
This standing water can seep under shingles and roofing materials, eventually making its way into the attic and ceiling. Regular gutter cleaning is one of the most effective ways to prevent ceiling water damage from roof leaks.

Ice dams
In colder regions, ice dams form when heat escaping through the roof melts snow on the upper sections, which then refreezes at the colder roof edges. This ridge of ice traps melting water behind it, forcing it back up under the shingles and into the roof structure.
Ice dams are a major cause of ceiling leaks and water damage during winter months, and they often go undetected until warm weather reveals the extent of the interior damage they caused.
Aging roof materials
Every roofing material has a finite lifespan. As asphalt shingles, underlayment, and sealants age, they lose their flexibility and waterproofing effectiveness. Older roofs are significantly more prone to cracking, granule loss, and moisture absorption.
A roof nearing or past the end of its expected service life – typically 20 to 30 years – may develop multiple small leaks simultaneously, making ceiling damage more widespread and harder to trace.
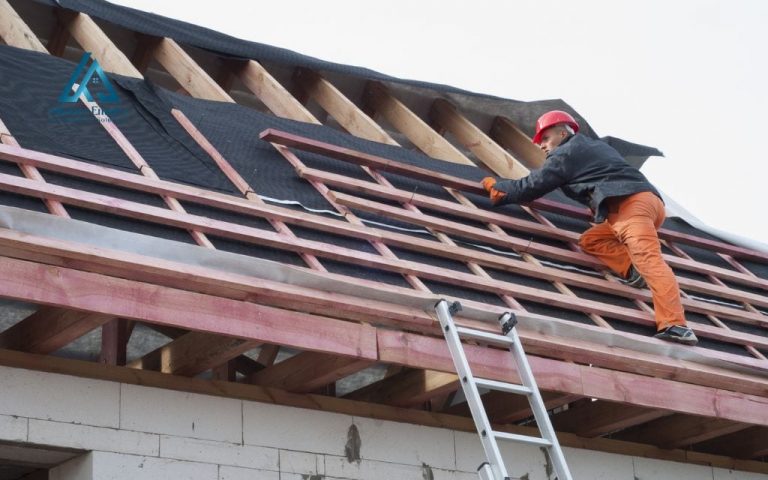
Poor roof installation
Not all roof leaks develop over time – some are present from the beginning due to improper installation. Incorrectly placed shingles, inadequate underlayment, improperly sealed valleys, or missed flashing details can all create entry points for water from day one.
Poor installation-related leaks are particularly frustrating because they often appear shortly after a new roof is installed or after a repair job was not completed to code. Always hire licensed, experienced roofing contractors to avoid these preventable issues.
What to do immediately
When ceiling damage from a roof leak is active or freshly discovered, every minute counts. Follow these steps in order to limit further damage and protect your home and family.
Step 1: Contain the water
Place buckets, bins, or towels directly beneath any active drips
Move furniture, rugs, electronics, and valuables away from the affected area
Lay down plastic sheeting or tarps to protect floors from further water damage
Step 2: Relieve pressure (if the ceiling is bulging)
If the ceiling is visibly bowing under trapped water, carefully use a screwdriver or small tool to puncture the lowest point of the bulge
This controlled release prevents the ceiling from collapsing under its own weight
Only attempt this if you can do so safely from the side. Never stand directly beneath a sagging ceiling
Step 3: Turn off electricity (if needed)
If water is near light fixtures, ceiling fans, or electrical outlets, cut power to that area at your breaker box immediately
Water and electricity are a life-threatening combination. Do not assume circuits are off without verifying at the panel
Step 4: Dry the area
Use fans and dehumidifiers to begin the drying process as quickly as possible
Absorb standing water with dry towels and mop up any pooling on the floor
Open windows if outdoor conditions allow to improve air circulation
Step 5: Document all damage
Take clear photos and video of all visible ceiling damage, staining, and water intrusion from multiple angles
Note the date and time the damage was discovered
Keep records of any emergency expenses, as these may be reimbursable through your insurance claim
How serious is ceiling damage from leaking roof?
It’s easy to look at a small water stain and think it can wait. It usually cannot. What appears as a cosmetic inconvenience can escalate into a serious structural and health issue within a matter of days.
Short-term risks
- Visible stains and cosmetic ceiling damage that affect your home’s appearance
- Saturated insulation that loses its thermal efficiency and retains moisture
Long-term risks
- Mold and mildew growth: Mold can begin forming on damp surfaces within just 24–48 hours, posing serious respiratory and health risks
- Structural weakening: Prolonged water exposure degrades drywall, ceiling joists, and support beams
- Ceiling collapse: A ceiling saturated with enough water can fail entirely, creating a dangerous and expensive emergency
- Electrical hazards: Water infiltrating wiring or light fixtures creates a significant fire and electrocution risk
Ceiling damage repair: What needs to be fixed?
Ceiling roof leak repair is not a single job, it involves addressing multiple layers of damage. Skipping any one of these components is likely to result in the problem returning. Here is what a complete ceiling roof repair typically covers.
Roof repair
- Replace damaged, cracked, or missing shingles to restore the primary water barrier
- Repair or replace failed flashing around chimneys, skylights, and roof vents
- Seal the identified leak source using appropriate roofing materials or underlayment
This step must always be completed before any interior ceiling work begins – repairing a ceiling without fixing the roof guarantees the damage will return
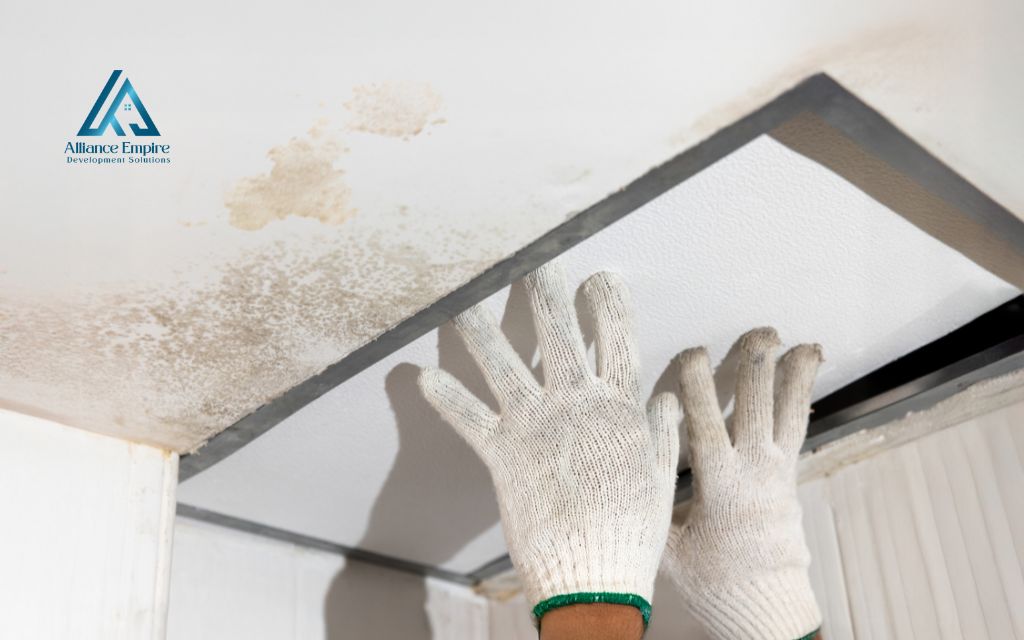
Ceiling repair
- Remove and replace all damaged or saturated drywall sections
- Apply primer and repaint the ceiling to eliminate staining and restore appearance
- If mold is present, professional mold remediation is required before any cosmetic repairs are made
Insulation replacement
- Wet insulation must always be removed. It does not dry effectively and becomes a breeding ground for mold
- Replacement insulation restores your home’s energy efficiency and prevents future moisture retention
Who should you call? (roofer vs. restoration vs. plumber)
Knowing who to contact can save time, money, and further damage. The right professional depends on the source and scope of the leak.
Call a licensed roofer if:
- The ceiling leak follows rainfall or a storm event
- You can see visible roof damage such as missing shingles, cracked flashing, or displaced materials from the ground
- Water stains only appear after heavy rain
Call a water damage restoration company if:
- There is significant water intrusion affecting ceilings, walls, or flooring
- Mold growth is suspected or visible
- The ceiling is sagging, structurally compromised, or at risk of collapse
Call a licensed plumber if:
- The ceiling leaks regardless of weather conditions
- There are known plumbing pipes running through the area above the damaged ceiling
- A bathroom or laundry room sits directly above the damaged ceiling area
Does insurance cover ceiling damage from a roof leak?
Insurance coverage for ceiling damage and water damage on a roof depends largely on the cause of the leak and how quickly the damage was addressed. Here is what most standard homeowners’ policies typically include and exclude.
Usually covered:
- Sudden and accidental leaks caused by storm damage, wind, hail, or falling debris
- Ceiling water damage that results directly from a covered roof event
- Emergency water removal and drying if reported promptly
Usually not covered:
- Damage resulting from long-term neglect, deferred maintenance, or gradual deterioration
- Leaks from a roof that was already known to be in poor condition prior to the damage
- Mold remediation in some policy types
Tips for filing a successful insurance claim:
- Document all damage with photos and video immediately after discovery
- Contact your insurance company as soon as possible to begin the claims process
- Request a professional inspection report from your roofing contractor, as insurers typically require documentation from a licensed professional
- Keep all receipts related to emergency repairs and temporary water mitigation
How to prevent roof leaks and ceiling damage
The most cost-effective approach to ceiling roof repair is preventing the damage before it starts. A proactive maintenance routine can extend the life of your roof and protect your entire home from water intrusion.
Roof and ceiling maintenance checklist:
- Inspect your roof at least once a year, ideally in both spring and fall
- Clean gutters and downspouts regularly to prevent water backup and pooling
- Check your attic after heavy rain for any signs of moisture, dripping, or damp insulation
- Address small issues early – replacing a single cracked shingle costs far less than repairing water damage on a roof and the ceiling below
- Trim overhanging tree branches that can scrape or puncture roofing material during storms
Pro tip: Schedule professional roof inspections before and after storm seasons. Early detection of minor damage prevents it from becoming a major ceiling leak repair project.
Conclusion
Ceiling damage from a roof leak is a visible warning sign of a larger issue – one that can lead to mold, structural failure, electrical hazards, and thousands of dollars in avoidable repairs if ignored.
The good news is that early action makes an enormous difference. Containing the water, drying the area, and calling the right professional within the first 24 – 48 hours can stop the damage from spreading and keep your repair costs manageable.
If you’ve noticed any sign of a ceiling leak, don’t wait for it to get worse.
- Schedule a professional roof inspection today.
- Get a professional assessment before the damage spreads.
At Alliance EDS, our licensed roofing and restoration professionals are ready to help you identify the source of your roof leak, assess the full scope of ceiling damage, and develop a repair plan that protects your home and your budget.
Contact us today for a comprehensive inspection.
Frequently asked questions (FAQs)
Can a small ceiling leak become serious?
Yes. Even a small or intermittent ceiling roof leak can lead to mold growth, insulation damage, and gradual structural weakening. What starts as a minor stain can quietly expand behind your walls and above your ceiling for weeks before becoming visible. Early inspection is always worthwhile.
How long before mold grows after a ceiling leak?
Mold can begin to develop on damp or wet building materials within 24 to 48 hours of water exposure. Warm, enclosed ceiling cavities with limited airflow accelerate that timeline. If your ceiling has been wet for more than a day or two, mold assessment should be part of any professional inspection.
Should I repair the ceiling or the roof first?
Always fix the roof leak first. Repairing your ceiling before the source of water entry is sealed is a waste of time and money. The damage will simply return with the next rain. Once the roof is properly repaired and confirmed watertight, ceiling repair and interior restoration can proceed.
Can I fix ceiling damage from a roof leak myself?
Minor cosmetic ceiling repairs – such as repainting a small stain after the roof has been professionally fixed – can be a DIY project. However, anything involving structural drywall replacement, mold remediation, insulation removal, or roof work itself should be handled by licensed professionals. Attempting structural or roof repairs without the proper expertise can worsen the damage and create safety risks.